
Harddisk of EasyUC VM FULL – Increase Disk
If the HDD of EasyUC VM is full and you can not start your EasyUC Instance or you can not Update to a newer version, you can increase the disk size. For this at first, download GParted and upload it to your ESXi Datastore.
Here you can download Gparted:
https://gparted.org/download.php

When Uploaded GParted to your Environment, shutdown your EasyUC VM.

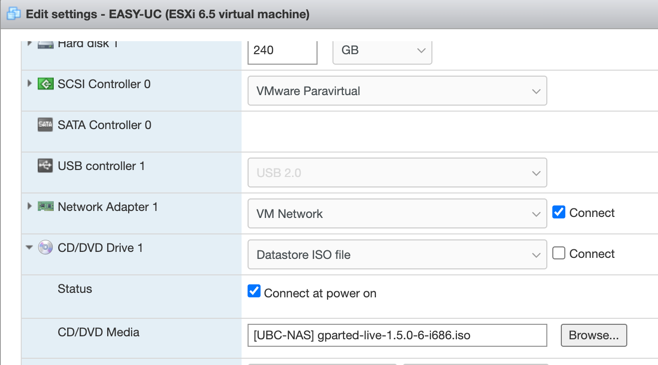
After the VM is shutdown, goto the VM Settings.

Then you will see VM Settings. As Default EasyUC has a 160 GB HDD.

If you want to change it, just type in the new size and click save.

Before you start the VM you also need to mount the gparted iso file to the DVD Drive.
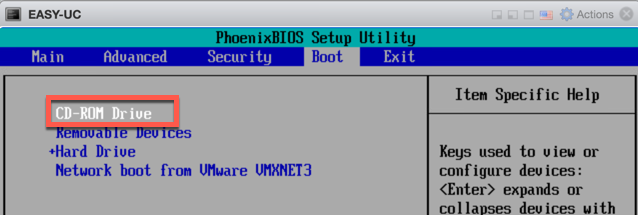
Now you need to change the Vm Options that with next boot the VM BIOS will start.

In BIOS you need to change the Boot Order. Make CD-ROM the first boot option.
Now start the EasyUC VM with GParted ISO mounted. Choose the first option like you see in screenshot.

Use the Default and press Enter.

Select your language or just press Enter to use English.

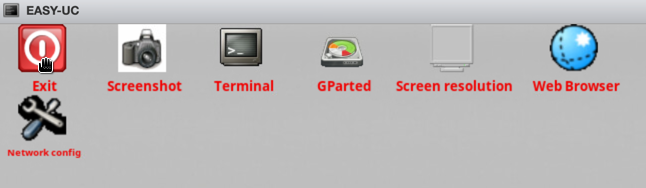
Press Enter to start GParted.

Now you see the Disk of the virtual machine. You see here the 160GB Disk and the 80 GB which we added earlier.
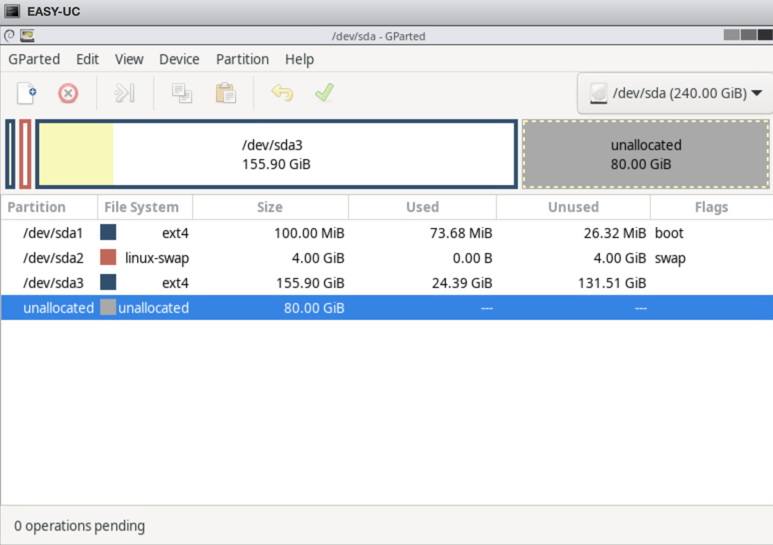
Do a right click on the 160GB HDD and click on Resize.

Now resize the HDD that the Free Space preceding is at 0.

This is how it looks then.
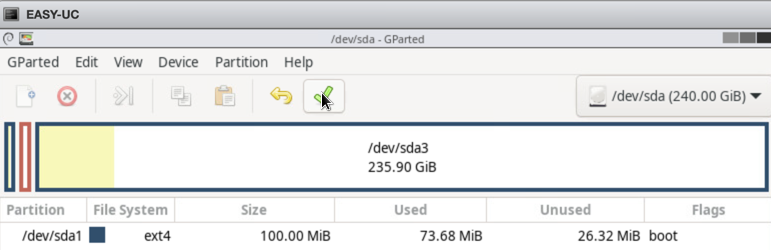
Click then at the green arrow and on apply.

After Apply you will see this.
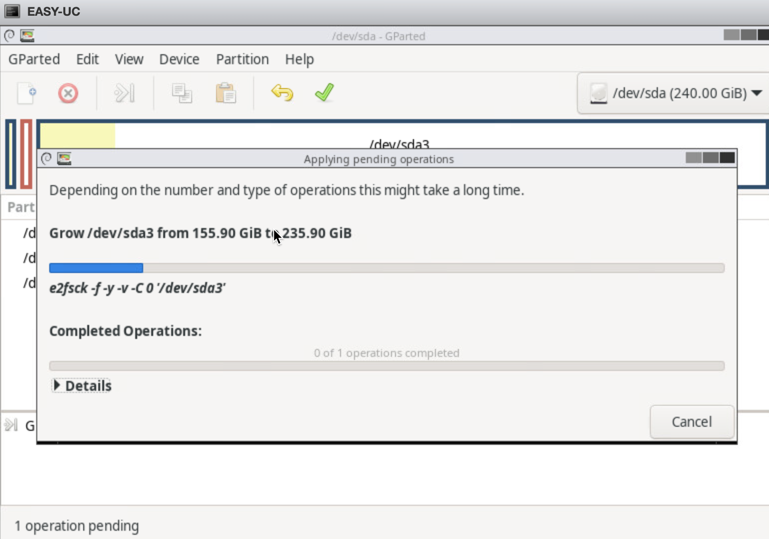
After finish you will see this.

Then click on exit and restart the VM.
Now unmount the gparted iso by chanhge DVD Setting to Host Device.

Now when EasyUC is started again, verify that the new disk size will be shown.

NOTE: If you have an older EasyUC VM, maybe you need to apply the increase disk size on the CLI.
Then login via CLI (easyuc/cisco) and then choose option “Increase disk size”.
